blizzard cake
February 1, 2011 § 4 Comments
I was out of town over the holidays when the massive snowstorm hit the northeast. At work they declared the first snow day in seven years and I missed it! Because I was in Canada! The irony was deeply irritating. I almost wanted to go back home just so I could take advantage of the snow day, but unsurprisingly, it was snowing in Canada too, so I stayed indoors instead.
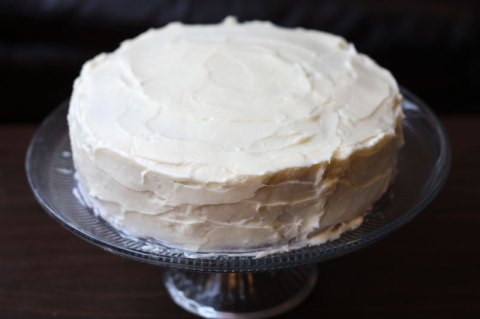
A couple weeks ago, though, we got hit by blizzard #2, and I had the chance to hole up indoors, hiding from the harsh weather and feeling excessively cozy. I also was seized by the urge to make a snow-appropriate cake, but only on the condition that I didn’t have to go outside to buy any missing ingredients, which I was pretty sure would lead to a melodramatic death by snowstorm. Luckily, I always have butter and cream cheese in the fridge (healthy person that I am), so it wasn’t too hard to come up with a feasible recipe. I had to substitute the sour cream and reduce the orange peel, but really, who likes citrus that much anyhow? No one, that’s who.
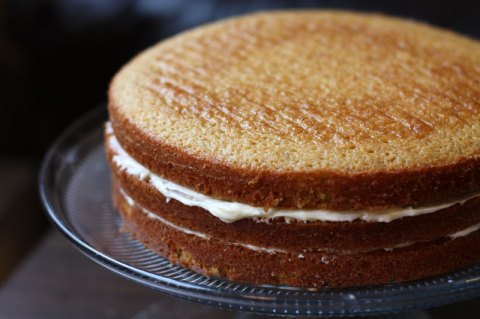
This cake is perfect comfort food, and should ideally be eaten while drinking hot chocolate and feeling very smug about being indoors while it snows outside. Although the layers look fancy, it’s really not much work. Apparently it’s supposed to snow again tomorrow – although I personally don’t believe it because clearly all the snow is already in towering mountains on my driveway – and if so, I might just make it again.
Spiced Layer Cake – adapted from Epicurious
I found that there was just barely enough frosting to coat the cake. I liked the ratio, but if you’re a frosting fanatic you might want to up the frosting recipe by a half.
Cake:
-
2 cups all purpose flour
1 teaspoon baking soda
1 teaspoon baking powder
1 teaspoon ground ginger
1 teaspoon ground cardamom
1 teaspoon ground cinnamon
1 teaspoon ground nutmeg
1/2 teaspoon salt
2 cups sugar
1 cup (2 sticks) butter, room temperature
1 tablespoon grated orange peel ( I used 1/2 teaspoon)
4 large eggs
1 cup sour cream (or if it’s snowing, subsitute half creme fraiche and half yogurt)
1/2 cup whole milk
Cream cheese frosting:
-
2 8-ounce packages cream cheese, room temperature
1/2 cup (1 stick) unsalted butter, room temperature
2 cups powdered sugar
1 teaspoon vanilla (optional)
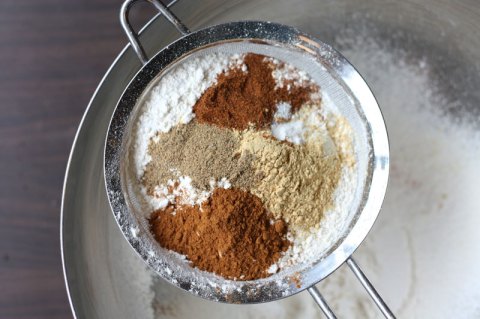
Preheat oven to 350°F. Lightly grease three 9-inch-diameter cake pans and line bottom of pans with parchment paper. Butter and flour pans; tap out excess flour. Sift first 8 ingredients into medium bowl. Using electric mixer, beat sugar, butter and orange peel in large bowl until fluffy. Beat in eggs 1 at a time. Stir flour mixture into butter mixture alternately with sour cream and milk. Divide batter among prepared pans.
Bake cakes until tester inserted into center comes out clean, about 25 minutes. Transfer pans to racks and cool 10 minutes. Turn cakes out onto racks and cool completely.
For frosting, beat cream cheese and butter together until smooth. Beat in sugar, then vanilla. Chill until ready to use.
Place 1 cake layer on platter. Spread 2/3 cup frosting over. Top with second cake layer. Spread 2/3 cup frosting over. Top with third cake layer. Cover top and sides of cake with remaining frosting.
applesauce cake
January 16, 2011 § 1 Comment
Although I wasn’t particularly good this year, Christmas brought a heaping pile of shiny new kitchen gadgets. I wouldn’t have predicted a couple years ago that I would get excited about small appliances, but now the arrival of a stand mixer at my doorstep is thrilling! I’ve somehow become a kitchen dork. I immediately wanted to make towering cakes and extravagant meringues and all sorts of exhausting things, but then I remembered that I don’t really know how to use a stand mixer yet. So in an rare moment of wisdom, I decided to start small.
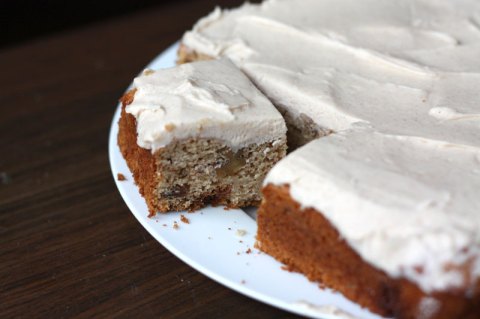
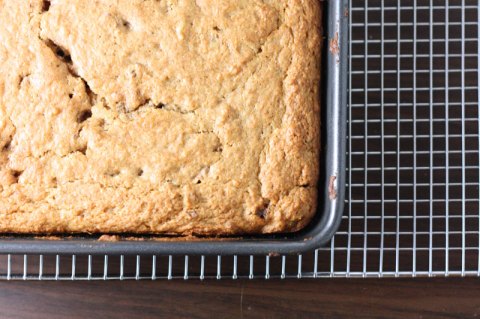
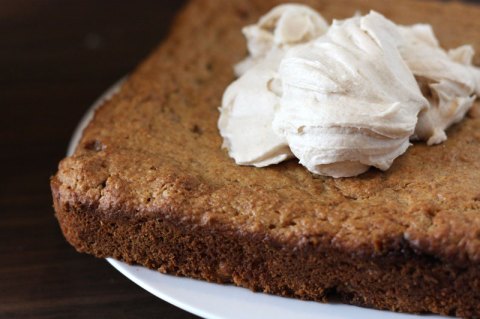
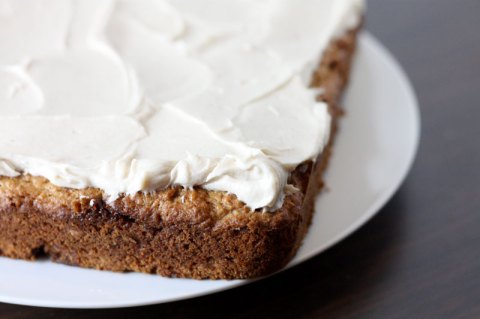
That turned out to be an extremely good idea. I picked a simple applesauce cake: one layer, cream cheese frosting. I spilled flour everywhere, and accidentally wildly overbeat the batter by my apparent inability to understand basic speed controls, and it was still delicious! I even somehow managed to leave an unmixed swirl of applesauce running through the cake, and this indestructible cake rose perfectly anyhow.
This recipe makes a gently spiced, moist and dense cake. You can cut it into breakfast squares if you’ve already abandoned your New Year’s resolutions, or save it for dessert – either way, it’s very welcome on a chilly January day. And apparently, impossible to mess up, so give it a try!
Spiced Applesauce Cake with Cinnamon Cream Cheese Frosting – adapted from Gourmet
For the cake:
-
2 cups all-purpose flour
2 teaspoons baking powder
1/2 teaspoon baking soda
1/2 teaspoon salt
3/4 teaspoon cinnamon
1/2 teaspoon ground ginger
1/8 teaspoon ground cloves
1 stick unsalted butter, softened
1 cup packed light brown sugar
1 teaspoon pure vanilla extract
2 large eggs
1 1/2 cups unsweetened applesauce
1/2 cup walnuts, toasted, cooled, and chopped
For the frosting:
-
5 oz cream cheese, softened
3 tablespoons unsalted butter, softened
1/4 teaspoon pure vanilla extract
1 cup confectioners sugar
1/2 teaspoon cinnamon
Preheat oven to 350°F. Butter a 9-inch square cake pan.
Whisk together flour, baking powder, baking soda, salt, and spices, and set aside.
In a large bowl, beat butter and brown sugar with an electric mixer at high speed until pale and fluffy, 2 to 3 minutes. Add eggs 1 at a time, beating well after each addition, then beat in applesauce. At low speed, mix in flour mixture until just combined, then stir in walnuts.
Spread batter evenly in pan and bake until golden-brown and a wooden pick inserted into center comes out clean, 40 to 45 minutes. Cool in pan 15 minutes. Run a knife around edge of cake to loosen, then invert onto a plate. Reinvert cake onto a rack to cool completely.
Make frosting:
Beat cream cheese, butter, and vanilla with an electric mixer at high speed until fluffy. Sift confectioners sugar and cinnamon over cream cheese mixture, then beat at medium speed until incorporated. Spread frosting over top of cooled cake.
quick cranberry cake
November 1, 2010 § 40 Comments
I went on a bit of a baking bender last weekend. Possibly making up for a dry spell, I churned out cookies, brownies, bread, and a cranberry cake. It all sounds very impressive until I admit that I haven’t actually cooked dinner in almost two weeks. It’s surprising how far sandwiches and eating out will take you, but at this point I’m pretty much relying on the cranberry cake to count as my ‘fruits and vegetables’ serving. Cranberries are practically a vegetable, right?
If you’re too busy to cook though, this cake is both quick and totally more worth the effort than real food (although I do recommend occasionally eating vegetables). I made it because I saw cranberries at the store for the first time this year and fell over myself in excitement to get them, narrowly avoiding taking out the nearby shoppers in my haste.
I love baked goods with cranberries, and this cake is a perfect example of why: it’s moist and dense and sweet, but the tartness of the cranberries in every bite balances it all out. It’s also seriously easy: one bowl, 10 minutes of mixing, then pop it in the oven. Out comes a cake that, despite its simplicity, and the fact that there are several other desserts sharing its spotlight, disappears surprisingly quickly.
Cranberry Cake – adapted from Vanilla Garlic
-
3 eggs
2 cups sugar
3/4 cup unsalted butter, slightly softened and cut into chunks
1 1/2 teaspoons vanilla
1 teaspoon salt
2 tablespoons whole milk
2 cups flour
2 1/2 cups cranberries (12 ounce bag)
Preheat oven to 350°F. Grease a 9×13 pan or a 10-inch springform pan.
In a large bowl, beat eggs and sugar for 5-7 minutes, until eggs have increased in volume and stream into ribbons when you lift the beaters. Add butter and vanilla and beat until incorporated, about 2 minutes. Beat in milk and salt.
Stir in flour, then fold in cranberries. Scrape batter into prepared pan.
Bake for approximately an hour, until a tester comes out clean (but there might be cranberry juices on it). Cool on a wire rack. If using springform, run a knife around the cake and then unmold.
dimply plum cake
September 14, 2010 § 11 Comments
I can’t really get behind the saying that one shouldn’t judge a book by its cover. I’ve spent hours wandering bookstores, mired in indecision, and the only thing that finally jolts me out of it is getting distracted by a pretty cover, and then just buying that one out of desperation. How should I know if it’s a good book until I’ve read it? Isn’t this what covers are for?
By the same token, my ever-wandering attention was captured by this recipe mainly because of the name: Dimply plum cake! Charming, no? And with legions of Dorie Greenspan fans having already given it a test run for me, I knew it was worth trying. My first attempt was unfortunately in a temperamental oven that left the insides gloopy and the outsides burnt. But it looked so promising, with silky batter studded with gorgeous plums, that I finally gave it a second chance when I was back home.
And I was glad I did, because it was a success. It’s a simple, orange-scented cake with a sturdy crumb, which is definitely needed to hold up the plums and their delicious juices. Even though I used a bigger pan than was called for, I couldn’t fit in more than two-thirds of the plums, but I put this down to me having mutant monster plums rather than any fault of the recipe. The cake isn’t too sweet and I suspect it would be great for breakfast as well as dessert, but I can’t actually tell you, because mine was all gone before it even had the chance to cool.
Dimply Plum Cake – from Dorie Greenspan
-
1 1/2 cups all-purpose flour
2 teaspoons baking powder
1/4 teaspoon salt
1/4 teaspoon ground cardamom
5 tablespoons unsalted butter, at room temperature
3/4 cup light brown sugar
2 large eggs
1/3 cup flavorless oil, such as canola or sunflower
Grated zest of 1 orange
1 1/2 teaspoons pure vanilla extract
8 purple or red plums, halved and pitted
Preheat oven to 350°F. Butter and flour an 8-inch square baking pan (I actually used a 9-inch and still couldn’t fit all the plums).
In a medium bowl, whisk together flour, baking powder, salt and cardamom.
In another bowl, beat the butter at medium speed until it’s soft and creamy, about 3 minutes. Add the sugar and beat until fluffy, another 3 minutes. Add the eggs one at a time, beating for a minute after each egg. Beat in the oil, zest and vanilla – the batter will look smooth and creamy, almost satiny. Reduce the mixer speed to low and add the dry ingredients, mixing only until they are just incorporated, no longer.
Scrape the batter into the prepared pan and smooth the top. Arrange the plums cut side up in the batter – Dorie usually makes four rows of four plum halves each, I managed this once but the second time I could only fit three – and jiggle the plums a bit just so they settle comfortably into the batter.
Bake for about 40 minutes, or until the top is honey brown and puffed around the plums and a thin knife inserted into the center of the cake comes out clean. Transfer the cake to a rack and cool for 15 minutes, then run a knife around the sides of the pan and unmold the cake. Invert and cool right side up. Once fully cool, you can wrap the cake and keep it at room temperature for up to 2 days, during which time it will get softer and moister.
vanilla bean cheesecake
July 4, 2010 § 23 Comments
I decided to make vanilla bean ice cream the other day, and asked my roommate to pick up a vanilla bean at the store while he was out. The ice cream was incredible – the flavour of real vanilla makes a huge difference – and I vowed to only use vanilla beans from then on. But then he mentioned that the bean cost ten dollars. For one bean. Seriously! I should think before I vow.
The problem is, now that I’ve gone bean, I can’t go back. If vanilla is the primary flavour in your recipe, using beans makes a world of difference to the taste, plus all the little seeds are so pretty! Luckily, I remembered that you can buy anything on the internet, and after a little hunting discovered that prices drop to a dollar a bean if you order online. Not cheap, but affordable. A few days later, an package arrived at my doorstep, and the smell was so strong that when I picked it up I instantly knew my vanilla had arrived. I wonder what the Fedex guy thought – this smell must have filled his entire truck.
Vanilla beans are really versatile, and given that most recipes only call for the seeds of a single bean (save the pod for vanilla sugar!), it’s a worthy investment for me. This cheesecake, though, calls for THREE vanilla beans. So unless you are a gazillionaire who enjoys throwing their weight around at the supermarket (and if you are, you may want to find a better hobby), I recommend that you only make this if you have purchased the aforementioned Supercheap Internet Vanilla Beans. If you do, your reward will be an incredibly creamy, dreamy cheesecake, that isn’t just plain but also isn’t overwhelmed by over-the-top flavours – just scented with the incredible aroma of vanilla, enhancing the cream cheese tanginess. Pile on a vanilla bean sour cream topping, and true decadence has arrived. Thank you internet!
Vanilla Bean Cheesecake – adapted from the Williams-Sonoma Essentials of Baking
Note: To get the best texture, it’s important that your cream cheese and eggs are at room temperature, and to beat as little as possible to prevent whipping air into the mixture.
Crust:
-
1 1/2 cups graham cracker crumbs (from about 8 crackers)
6 tablespoons butter, melted
3 tablespoons sugar
1/4 teaspoon freshly grated nutmeg
3/4 cup pecans or walnuts
Filling:
-
4 8-ounce packages cream cheese, at room temperature
1 cup sugar
3 eggs, at room temperature
2 vanilla beans
Juice of one lemon, strained (use only half a lemon if you prefer less tartness)
2 teaspoons vanilla extract
Topping:
-
2 cups sour cream
1/4 cup sugar
1 vanilla bean
Preheat oven to 350°F. Butter the bottom and sides of a 9-inch springform pan. Line a baking sheet with parchment paper.
In a food processor, combine the crumbs, butter, sugar, nutmeg, and nuts. Pulse until mixed thoroughly. Press the mixture into the prepared pan and 1.5 inches up the sides (it helps to use a flat bottomed, straight-sided cup to press in the crumbs). Bake the crust until it darkens a bit, 10-12 minutes. Transfer to wire rack and let cool.
In a large bowl, beat the cream cheese on low speed until creamy. Add sugar and beat until smooth. Add eggs one at a time, beating gently after each addition. Split vanilla beans lengthwise and scrape seeds into the cream cheese mixture. Add vanilla extract and lemon juice, and mix until smooth and creamy.
Put the pan with the crust on the baking sheet. Pour the batter into the crust – you may have a bit too much filling, depending on the size of your pan, so don’t necessarily put it all in (you can bake the extra in a ramekin, or as I did, just eat it with a spoon). Cover the cake pan with a lid. Bake the cheesecake until the centre jiggles slightly when centre is shaken, 50-70 minutes. If it looks soupy, keep baking a few more minutes.
For topping: in a small bowl, combine sour cream and sugar. Scrape the seeds from the vanilla bean and add to the bowl, stirring well.
When cheesecake is baked, remove from oven and pour sour cream topping over. Gently spread the topping over the cake. Return the pan to the oven for 5 more minutes.
Transfer the cake to a wire rack and let cool for 1-2 hours. Cover and refrigerate overnight.
